I’ve had a few different requests for some more details on the DIY wood home sign I made a couple of weeks ago…so ask, and you shall receive!
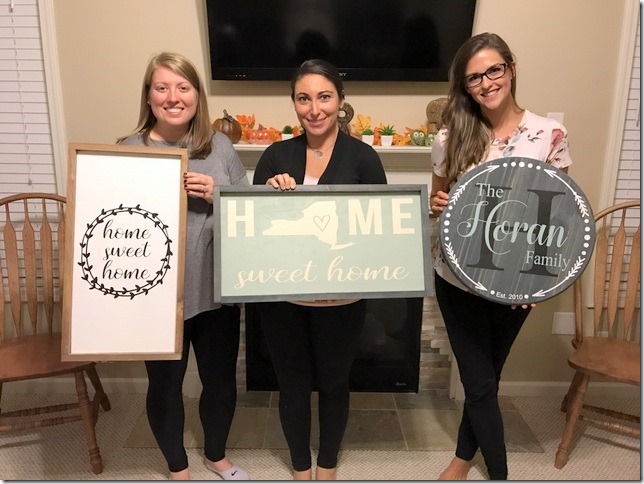
My neighbor, and friend, Kate decided to host a party with Shea Crafts after she had attended one herself. I am SO glad she did, because it was seriously so fun!
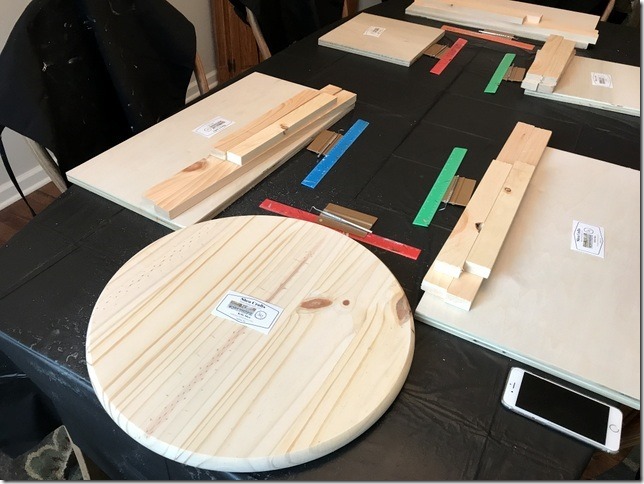
As a guest, we had to choose the sign that we wanted to paint about two weeks prior to the party, so she could make sure she had all of the necessary materials for everyone.
There were so many awesome designs (you can see many of them in her gallery!), but there was something about the round sign that totally stood out to me.
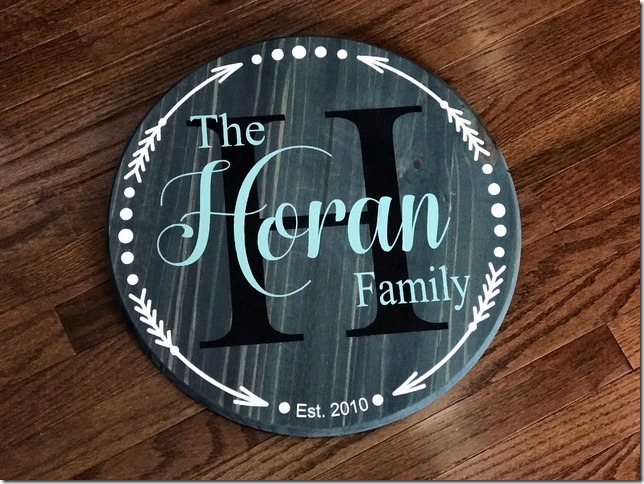
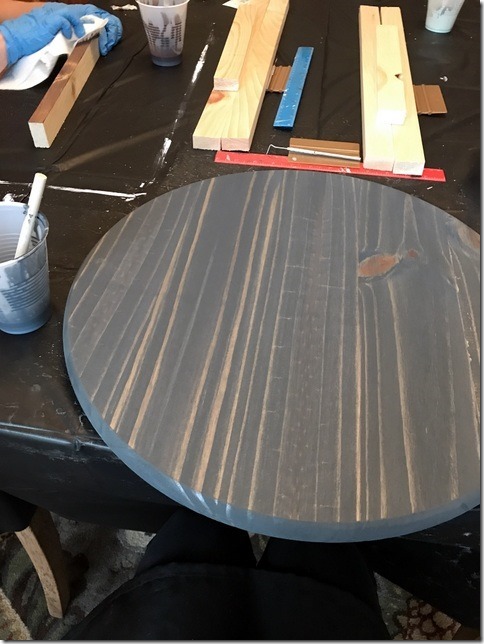
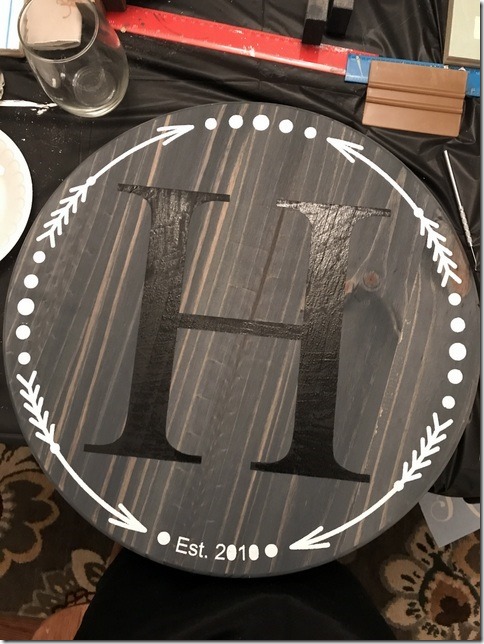
Kelly (the owner of Shea Crafts) had about six different stain options to choose from, and a number of different paint colors as well. Since I’m all grey obsessed and whatnot, I ended up choosing the grey stain, which is actually quite similar to our kitchen cabinets.
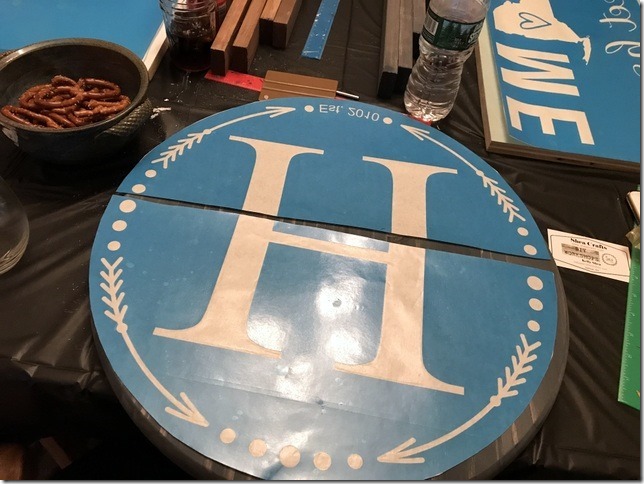
For the actual design on the sign, everything was done with a pre-made stencil/template. If you’ve ever done anything like add a decal to a wall or anything like that, then this was likely very similar. Place, press, scrape, gently peel, repeat. ; )
Apparently the sign I chose was one of the more difficult, so I’m pretty sure I was the last one finished out of the group, but it all worked out!
I had a hard time deciding which color to paint our name, but I did end up deciding on a very light blue-green and I love it. The only part I question was whether or not I should have done the ‘H’ white, just like the arrows around the circle?
But hey, ya know what? I still love it. And now I seriously want to paint all. the. signs. (Too bad she’s pretty much booked basically through the end of November!). Have you guys ever been to a party like this? SO much fun!!
This post was not at all sponsored, and it’s highly likely that the owner will never even know I wrote it. ![]() But if you’re local, I’d totally recommend checking her out because she was great!
But if you’re local, I’d totally recommend checking her out because she was great!






That looked so much fun! I lurrrrve the colors your chose..the Blue works out perfectly! I axtually got a wood sign as a gift from my neighbor but used it as a cutting bort! It still works perfectly tho – just gotta wash the stackers off the beef!
I love custom artwork but certainly lack in the talent department! The H is pretty as is because it doesn’t take away from the rest of the sign.
This is so cute! I am totally un-crafty, so would love having someone walk me through each step like that.
This looks so fun! I like that you kept the H a darker color — it makes it easier to read the text that is on top of it!
What a fun idea! I would love to do something like this :) I will have to see if there is anyone in my area that makes these signs!
This is so awesome! I love the colors you chose. I think it stands out more than a white H would have been!
What a fun idea! Your sign is so cute! :)
I love how your sign turned out! What a fun night with friends!
This seems like a great way to unwind with your girlfriends! I also think the black H is the way to go. It helps your last name pop and blends nicely with the grey without getting lost. Good choice!
We’re going to do one with our girls small group from church soon! Can’t wait